
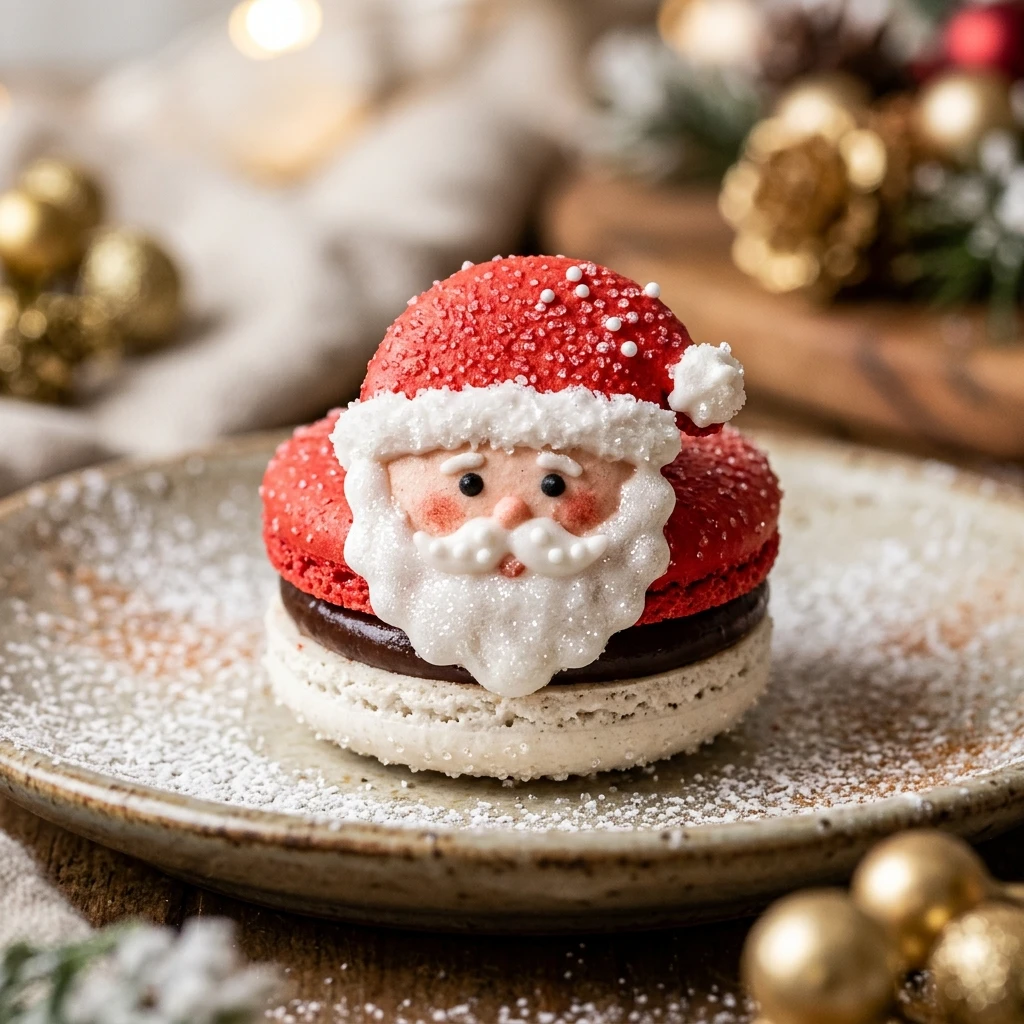
I love spending my December afternoons in a flour,dusted kitchen, creating treats that bring a smile to everyone’s face. These Santa Claus Macarons are the highlight of my holiday cookie platter because they combine a classic French technique with the whimsical spirit of Christmas. I hope they bring as much joy to your home as they do to mine during this festive season.
Recipe Details
Recipe Information
- Prep Time: 45 minutes
- Cook Time: 15 minutes
- Total Time: 60 minutes
- Servings: 20 macarons
- Difficulty: Hard
Nutrition Information (Per Serving)
- Calories: 95
- Protein: 2 grams
- Carbs: 12 grams
- Fat: 5 grams
Why You’ll Love This Santa Claus Macarons
These adorable treats are more than just a dessert, they are a festive centerpiece. You will love how the crisp, delicate shells give way to a creamy white chocolate center. The cheerful Santa faces make them a hit with children and adults alike, and they add a sophisticated yet playful touch to any holiday party. Plus, mastering the macaron technique is a rewarding challenge that makes your Christmas baking feel truly special.
Santa Claus Macarons Ingredients & Substitutions
- 1 and 3/4 cups powdered sugar
- 1 cup finely ground almond flour
- 3 large egg whites, at room temperature
- 1/4 cup granulated sugar
- 1/4 teaspoon cream of tartar
- 1 teaspoon alcohol-free vanilla extract
- Red gel food coloring
- 4 ounces white chocolate chips
- 1/4 cup heavy cream
- Black and pink edible ink markers or royal icing for decoration
If you cannot find almond flour, finely ground sunflower seed flour is a great alternative for those with nut allergies. For the filling, you can substitute the white chocolate ganache with a peppermint buttercream or even a thick cream cheese frosting. Ensure you use gel based food coloring rather than liquid drops, as the extra moisture in liquid coloring can ruin the consistency of the meringue. If you do not have alcohol-free vanilla extract, the scrapings from a whole vanilla bean provide a beautiful flavor and appearance.
Step-by-Step Instructions to Make Santa Claus Macarons
Step 1: Sift the Dry Ingredients
Combine the powdered sugar and almond flour in a fine,mesh sieve. Sift the mixture into a large bowl twice to ensure there are no lumps and discard any large almond pieces. This step is crucial for achieving those perfectly smooth, signature macaron tops.
Step 2: Whisk the Meringue
In a clean glass or metal bowl, beat the egg whites and cream of tartar on medium speed until soft peaks form. Gradually add the granulated sugar one tablespoon at a time, then increase the speed to high. Continue beating until the meringue is stiff and glossy. Fold in the alcohol-free vanilla extract at the very end.
Step 3: The Macaronage Process
Gently fold the dry ingredients into the meringue using a spatula. Divide the batter into two bowls. In one bowl, add a few drops of red gel food coloring to create Santa’s hat color. Leave the other bowl white for the face and beard. Fold each batter until it reaches a “lava” consistency, where it flows slowly off the spatula in a continuous ribbon.
Step 4: Piping the Shapes
Transfer the batters into piping bags fitted with small round tips. On a baking sheet lined with parchment paper, pipe small circles for the faces. Add a little triangle shape on top with the red batter for the hat. Remember to leave space between each macaron as they will spread slightly.
Step 5: Resting the Shells
Tap the baking sheet firmly on the counter several times to release any trapped air bubbles. Let the macarons sit at room temperature for about 30 to 45 minutes. They are ready to bake once a “skin” has formed and the tops are no longer sticky to the touch.
Step 6: Baking the Macarons
Preheat your oven to 300 degrees Fahrenheit. Bake the shells for 15 minutes. They should have developed “feet” and be firm to the touch. Let them cool completely on the baking sheet before attempting to remove them.
Step 7: Filling and Decorating
Heat the heavy cream until it just begins to simmer, then pour it over the white chocolate chips. Let it sit for two minutes, then stir until smooth. Once the ganache has thickened, pipe it onto the flat side of a cooled shell and sandwich it with another. Use edible markers or icing to draw on Santa’s eyes, nose, and a fluffy white pom-pom for his hat.
Tips for Success
The biggest secret to success is patience. Always use egg whites that have been sitting at room temperature for at least 24 hours if possible. This helps stabilize the meringue. Also, avoid baking on a rainy or very humid day, as the moisture in the air can prevent the shells from drying properly and forming that essential skin. If you see air bubbles after piping, use a toothpick to gently pop them for a smoother finish.
Variations of Santa Claus Macarons
You can easily adapt this recipe to include other holiday characters. Try using green food coloring to make Christmas trees or brown for little reindeer. For the filling, adding a drop of peppermint extract or a bit of orange zest to the ganache can create a whole new flavor profile that pairs beautifully with the sweet almond shells. You can even dust the wet red batter with edible glitter before it dries for a sparkly Santa hat effect.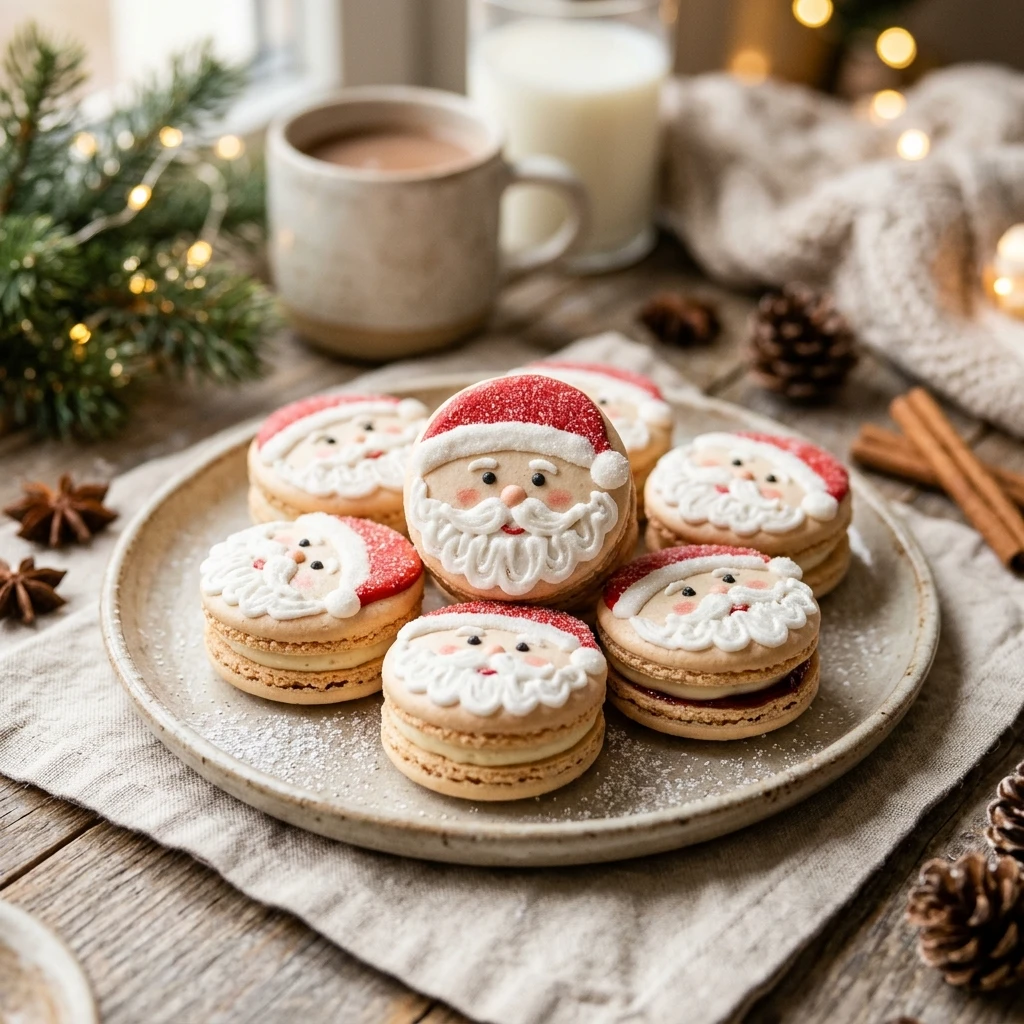
Serving Suggestions: What to Pair with Santa Claus Macarons
These macarons are best served alongside a steaming mug of hot cocoa or a festive spiced apple cider. They look stunning on a tiered dessert stand or as a decorative topper for a holiday cake. If you are hosting a party, pair them with other classic treats like gingerbread men and peppermint bark to create a complete Christmas dessert board.
Storage & Reheating Instructions
Macarons actually taste better the next day after the flavors have had time to mature. Store them in an airtight container in the refrigerator for 3 to 5 days. For longer storage, you can freeze the filled macarons for up to one month. When you are ready to enjoy them, let them sit at room temperature for about 20 minutes to soften. Do not reheat them, as the shells will lose their delicate texture.
Memories Made Around the Table
I still remember the first time I tried to make these with my niece. The kitchen was a total mess, and half of our Santas looked a little lopsided, but we laughed until our sides ached. Now, every time I pull a batch of these out of the oven, I think of that afternoon. It is not just about the perfect cookie, it is about the stories we create while we are decorating them together by the light of the Christmas tree.
FAQs
Why did my macaron shells crack in the oven?
Cracked shells usually happen because the macarons did not rest long enough to form a proper skin. If the air cannot escape through the bottom to form “feet,” it will burst through the top. Ensure they are completely dry to the touch before baking.
Can I use liquid food coloring instead of gel?
It is not recommended. Liquid coloring adds too much moisture to the delicate egg white mixture, which can cause the batter to become too runny and lead to failed shells. Gel or powder colors are much better for maintaining the structure.
How do I know when the macaronage is finished?
The batter should be thick enough to hold its shape for a few seconds but thin enough to settle into a smooth surface. You should be able to draw a figure eight with the batter falling off your spatula without the ribbon breaking.
What if my macarons are stuck to the parchment paper?
This usually means they are slightly underbaked or they have not cooled completely. Let them sit for another 10 minutes. If they are still stuck, you can try placing the parchment on a damp towel for a few seconds to help release the steam at the base.
Why are my macaron shells hollow?
Hollow shells are often the result of overbeating the meringue or the oven temperature being slightly too high. Try reducing the speed of your mixer toward the end of the whisking process to create smaller, more stable air bubbles.
Final Thoughts
Baking Santa Claus Macarons is a wonderful way to embrace the holiday spirit. While they require a bit of practice and precision, the result is a charming and delicious treat that will impress everyone at your Christmas gathering. Take your time, enjoy the process, and remember that even the less than perfect ones will still taste absolutely divine.
Santa Claus Macarons
- Total Time: 1 hour
Ingredients
- 1 and 3/4 cups powdered sugar
- 1 cup finely ground almond flour
- 3 large egg whites, at room temperature
- 1/4 cup granulated sugar
- 1/4 teaspoon cream of tartar
- 1 teaspoon alcohol-free vanilla extract
- Red gel food coloring
- 4 ounces white chocolate chips
- 1/4 cup heavy cream
- Black and pink edible ink markers or royal icing for decoration
Instructions
- Combine the powdered sugar and almond flour in a fine,mesh sieve. Sift the mixture into a large bowl twice to ensure there are no lumps and discard any large almond pieces. This step is crucial for achieving those perfectly smooth, signature macaron tops.
- In a clean glass or metal bowl, beat the egg whites and cream of tartar on medium speed until soft peaks form. Gradually add the granulated sugar one tablespoon at a time, then increase the speed to high. Continue beating until the meringue is stiff and glossy. Fold in the alcohol-free vanilla extract at the very end.
- Gently fold the dry ingredients into the meringue using a spatula. Divide the batter into two bowls. In one bowl, add a few drops of red gel food coloring to create Santa’s hat color. Leave the other bowl white for the face and beard. Fold each batter until it reaches a “lava” consistency, where it flows slowly off the spatula in a continuous ribbon.
- Transfer the batters into piping bags fitted with small round tips. On a baking sheet lined with parchment paper, pipe small circles for the faces. Add a little triangle shape on top with the red batter for the hat. Remember to leave space between each macaron as they will spread slightly.
- Tap the baking sheet firmly on the counter several times to release any trapped air bubbles. Let the macarons sit at room temperature for about 30 to 45 minutes. They are ready to bake once a “skin” has formed and the tops are no longer sticky to the touch.
- Preheat your oven to 300 degrees Fahrenheit. Bake the shells for 15 minutes. They should have developed “feet” and be firm to the touch. Let them cool completely on the baking sheet before attempting to remove them.
- Heat the heavy cream until it just begins to simmer, then pour it over the white chocolate chips. Let it sit for two minutes, then stir until smooth. Once the ganache has thickened, pipe it onto the flat side of a cooled shell and sandwich it with another. Use edible markers or icing to draw on Santa’s eyes, nose, and a fluffy white pom-pom for his hat.
- Cook Time: 60 minutes
- Diet: Vegetarian, Gluten-Free