
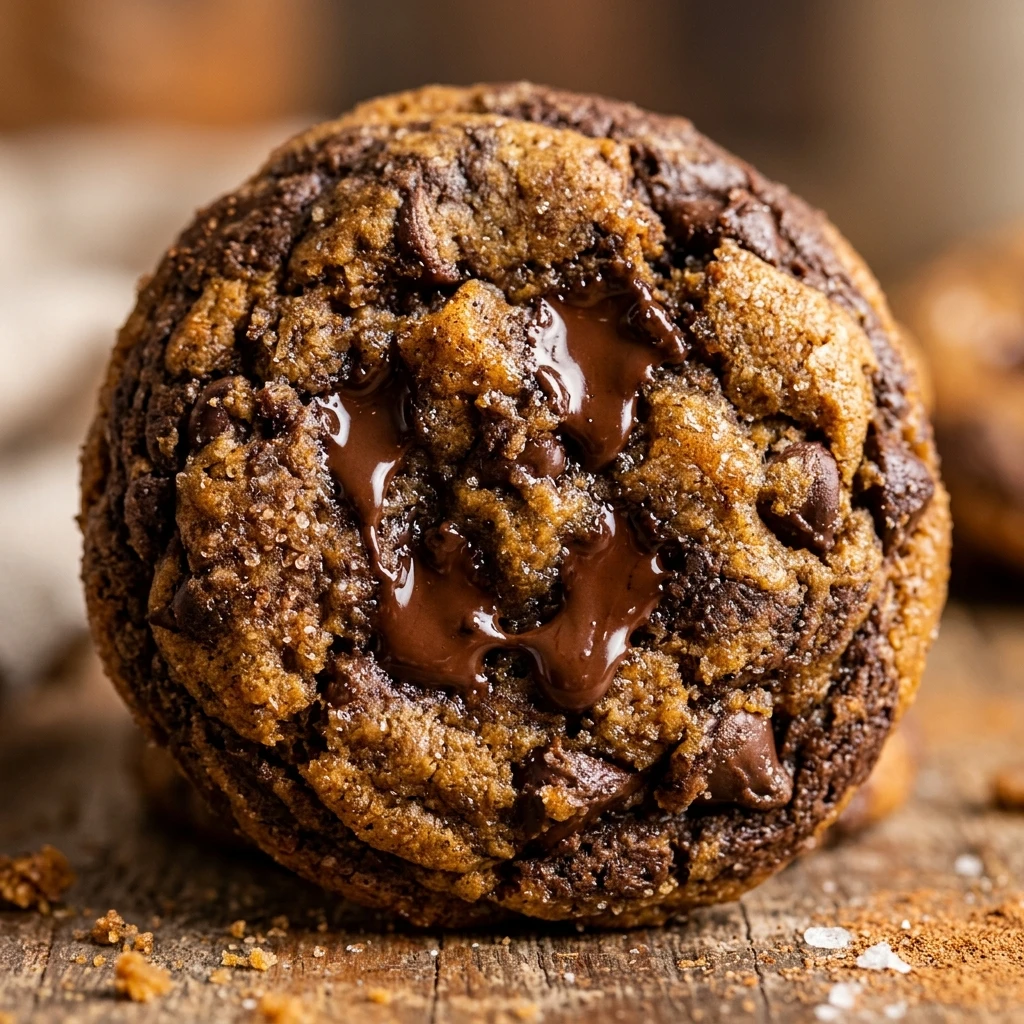
I always find that the best part of Thanksgiving is the sweet aroma that fills the kitchen as the afternoon sun begins to set. I love making these cookies because they bring a touch of elegance to the dessert table without requiring hours of decorating. They are the perfect way to satisfy both the chocolate lovers and the fans of warm autumn spices in one delicious bite.
Recipe Details
Recipe Information
- Prep Time: 20 minutes
- Cook Time: 12 minutes
- Total Time: 32 minutes
- Servings: 24 cookies
- Difficulty: Easy
Nutrition Information (Per Serving)
- Calories: 185 calories
- Protein: 2 grams
- Carbs: 24 grams
- Fat: 9 grams
Why You’ll Love This Treat
This treat is a fantastic addition to any holiday spread because it offers a beautiful visual contrast between deep cocoa and spiced golden dough. It captures the essence of the harvest season with its warm notes of cinnamon and nutmeg, while the melted chocolate chips provide that classic comfort everyone craves during Thanksgiving. Since the recipe uses simple pantry staples, you can whip up a batch quickly when guests arrive unexpectedly or as a thoughtful homemade gift for your hosts.
This Treat Ingredients & Substitutions
- 1 cup unsalted butter, softened at room temperature
- 3/4 cup brown sugar, firmly packed
- 3/4 cup granulated white sugar
- 1 large egg, room temperature
- 2 teaspoons alcohol-free vanilla extract
- 2 1/4 cups all-purpose flour
- 1 teaspoon baking soda
- 1/2 teaspoon salt
- 1 teaspoon pumpkin pie spice
- 3 tablespoons unsweetened cocoa powder
- 1 1/2 cups semi-sweet chocolate chips
If you prefer a different flavor profile, you can substitute the butter with an equal amount of coconut oil for a slightly different texture. For those who do not have pumpkin pie spice on hand, a simple blend of ground cinnamon and a pinch of ground ginger or cloves works perfectly. You can also experiment with different types of baking chips, such as white chocolate or dark chocolate chunks, to suit your personal taste preferences.
Step-by-Step Instructions to Make This Treat
Step 1: Preparation
Preheat your oven to 350 degrees Fahrenheit. Line two large baking sheets with parchment paper or silicone baking mats to ensure the cookies do not stick and to help with even browning during the baking process.
Step 2: Cream the Butter and Sugars
In a large mixing bowl, beat the softened butter, brown sugar, and granulated white sugar together using an electric mixer. Continue mixing for about two to three minutes until the mixture is light, fluffy, and well combined.
Step 3: Add Wet Ingredients
Add the egg and the alcohol-free vanilla extract to the creamed butter mixture. Beat on a medium speed until the egg is fully incorporated and the batter looks smooth.
Step 4: Incorporate Dry Ingredients
In a separate medium bowl, whisk together the all-purpose flour, baking soda, and salt. Gradually add these dry ingredients to the wet mixture, stirring at a low speed just until the flour disappears. Do not overmix the dough at this stage.
Step 5: Divide and Flavor the Dough
Divide the cookie dough into two equal portions in separate bowls. Into the first bowl, fold in the pumpkin pie spice. Into the second bowl, fold in the unsweetened cocoa powder. Mix each until the colors are uniform.
Step 6: Add Chocolate Chips and Marble
Gently fold half of the chocolate chips into the spiced dough and the other half into the cocoa dough. To create the marble effect, take a small tablespoon of each dough and gently press them together, twisting slightly to create swirls before placing them on the baking sheet.
Step 7: Bake to Perfection
Place the baking sheets in the oven and bake for 10 to 12 minutes, or until the edges are lightly golden and the centers are set. Let the cookies cool on the baking sheet for five minutes before transferring them to a wire rack to cool completely.
Tips for Success
For the best results, make sure your butter is truly at room temperature before you start mixing, as this ensures a smooth texture. When creating the marble effect, avoid over-mixing the two doughs, or you will end up with a muddy color rather than distinct swirls. If you want your cookies to look like they came from a professional bakery, press a few extra chocolate chips into the tops of the dough balls immediately before they go into the oven.
Variations of This Treat
You can easily put a twist on this recipe by adding a half cup of chopped pecans or walnuts for an added crunch that pairs beautifully with the Thanksgiving theme. For a more intense spice profile, increase the amount of cinnamon or add a dash of cardamom to the golden dough. If you enjoy a salty and sweet combination, sprinkle a tiny bit of flaky sea salt over the cookies as soon as they come out of the oven.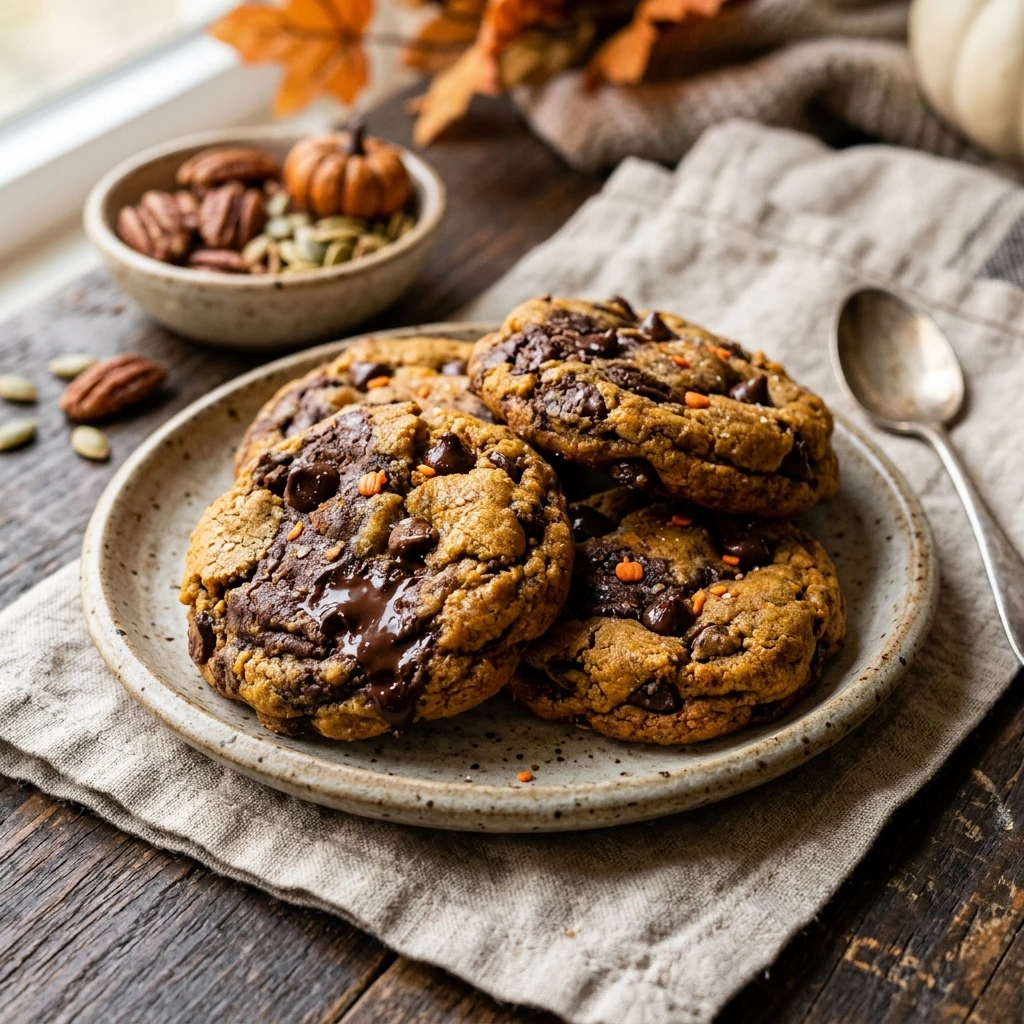
Serving Suggestions: What to Pair with This Treat
These cookies are wonderful when served alongside a warm mug of spiced cider or a creamy cup of hot chocolate. For a full Thanksgiving dessert spread, place them on a platter with sliced apples and a bit of caramel dip. They also make an excellent base for an ice cream sandwich if you pair them with a scoop of cinnamon or vanilla bean ice cream.
Storage & Reheating Instructions
Store any leftover cookies in an airtight container at room temperature for up to five days. If you want to keep them longer, these cookies freeze very well for up to three months when placed in a freezer-safe bag. To enjoy them warm, simply pop a cookie in the microwave for about ten seconds to soften the chocolate and bring back that fresh-out-of-the-oven feel.
Memories Made Around the Table
I remember one Thanksgiving when we had so many pies that I decided to sneak a batch of these cookies onto the table just for the kids. To my surprise, the adults finished the entire plate before the pumpkin pie was even sliced. It reminded me that sometimes the simplest treats are the ones that bring the most joy when the whole family is gathered together. Now, I make sure to bake a double batch every year so there is plenty of marble goodness for everyone to enjoy during our holiday movies.
FAQs
How do I get the perfect marble pattern?
The key is to use small portions of each dough and join them with a gentle twist. Do not knead the doughs together, as you want the individual colors of the chocolate and spice sections to remain distinct in the final baked cookie.
Can I make the dough in advance?
Yes, you can prepare the dough and keep it in the refrigerator for up to two days. If you do this, let the dough sit at room temperature for about fifteen minutes before scooping so it is easier to handle and swirl.
Why do I need alcohol-free vanilla extract?
Using alcohol-free vanilla extract provides the same deep, floral sweetness of traditional vanilla while ensuring the recipe meets specific dietary preferences. It is a simple swap that maintains the high quality and flavor of your baked goods.
Can I use milk chocolate instead of semi-sweet?
Absolutely, milk chocolate will make the cookies slightly sweeter and creamier. If you use milk chocolate, you might want to slightly reduce the granulated sugar by a tablespoon if you prefer a less sweet dessert.
What if my cookies are spreading too much?
If the cookies spread more than you like, try chilling the dough balls in the refrigerator for thirty minutes before baking. This helps the fats in the butter stay solid longer, resulting in a thicker and chewier cookie.
Final Thoughts
These cookies are a beautiful representation of the harvest season, combining the best of autumn spices with the timeless appeal of chocolate. Whether you are hosting a large Thanksgiving dinner or just looking for a cozy snack to enjoy by the fireplace, this recipe is sure to become a seasonal favorite. Enjoy the process of swirling the colors together and sharing these delightful treats with the people you love most.

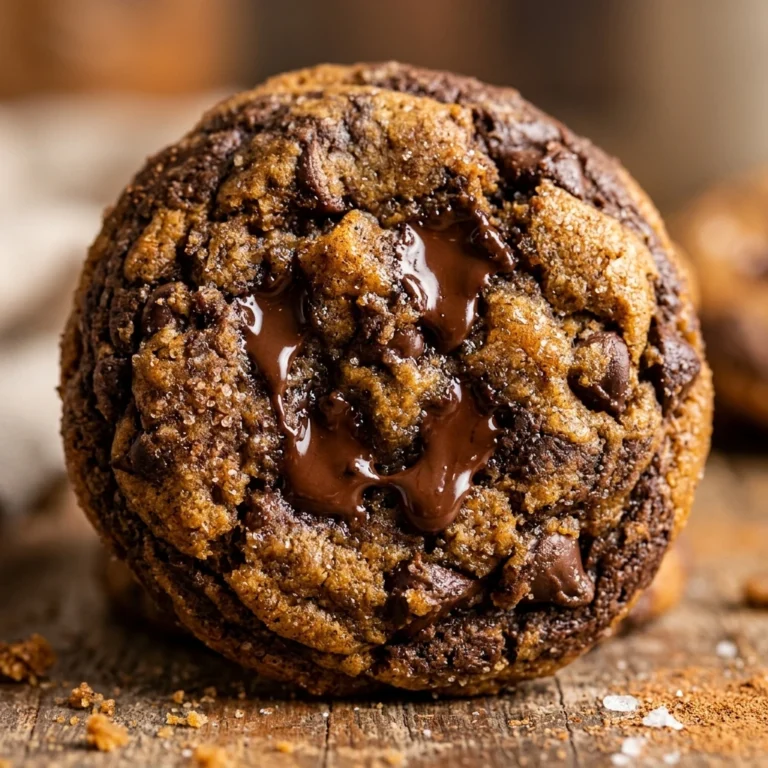
Fall Harvest Marble Chocolate Chip Cookies
- Total Time: 32 minutes
Ingredients
- 1 cup unsalted butter, softened at room temperature
- 3/4 cup brown sugar, firmly packed
- 3/4 cup granulated white sugar
- 1 large egg, room temperature
- 2 teaspoons alcohol-free vanilla extract
- 2 1/4 cups all-purpose flour
- 1 teaspoon baking soda
- 1/2 teaspoon salt
- 1 teaspoon pumpkin pie spice
- 3 tablespoons unsweetened cocoa powder
- 1 1/2 cups semi-sweet chocolate chips
Instructions
- Preheat your oven to 350 degrees Fahrenheit. Line two large baking sheets with parchment paper or silicone baking mats to ensure the cookies do not stick and to help with even browning during the baking process.
- In a large mixing bowl, beat the softened butter, brown sugar, and granulated white sugar together using an electric mixer. Continue mixing for about two to three minutes until the mixture is light, fluffy, and well combined.
- Add the egg and the alcohol-free vanilla extract to the creamed butter mixture. Beat on a medium speed until the egg is fully incorporated and the batter looks smooth.
- In a separate medium bowl, whisk together the all-purpose flour, baking soda, and salt. Gradually add these dry ingredients to the wet mixture, stirring at a low speed just until the flour disappears. Do not overmix the dough at this stage.
- Divide the cookie dough into two equal portions in separate bowls. Into the first bowl, fold in the pumpkin pie spice. Into the second bowl, fold in the unsweetened cocoa powder. Mix each until the colors are uniform.
- Gently fold half of the chocolate chips into the spiced dough and the other half into the cocoa dough. To create the marble effect, take a small tablespoon of each dough and gently press them together, twisting slightly to create swirls before placing them on the baking sheet.
- Place the baking sheets in the oven and bake for 10 to 12 minutes, or until the edges are lightly golden and the centers are set. Let the cookies cool on the baking sheet for five minutes before transferring them to a wire rack to cool completely.
- Cook Time: 32 minutes
- Diet: Vegetarian