
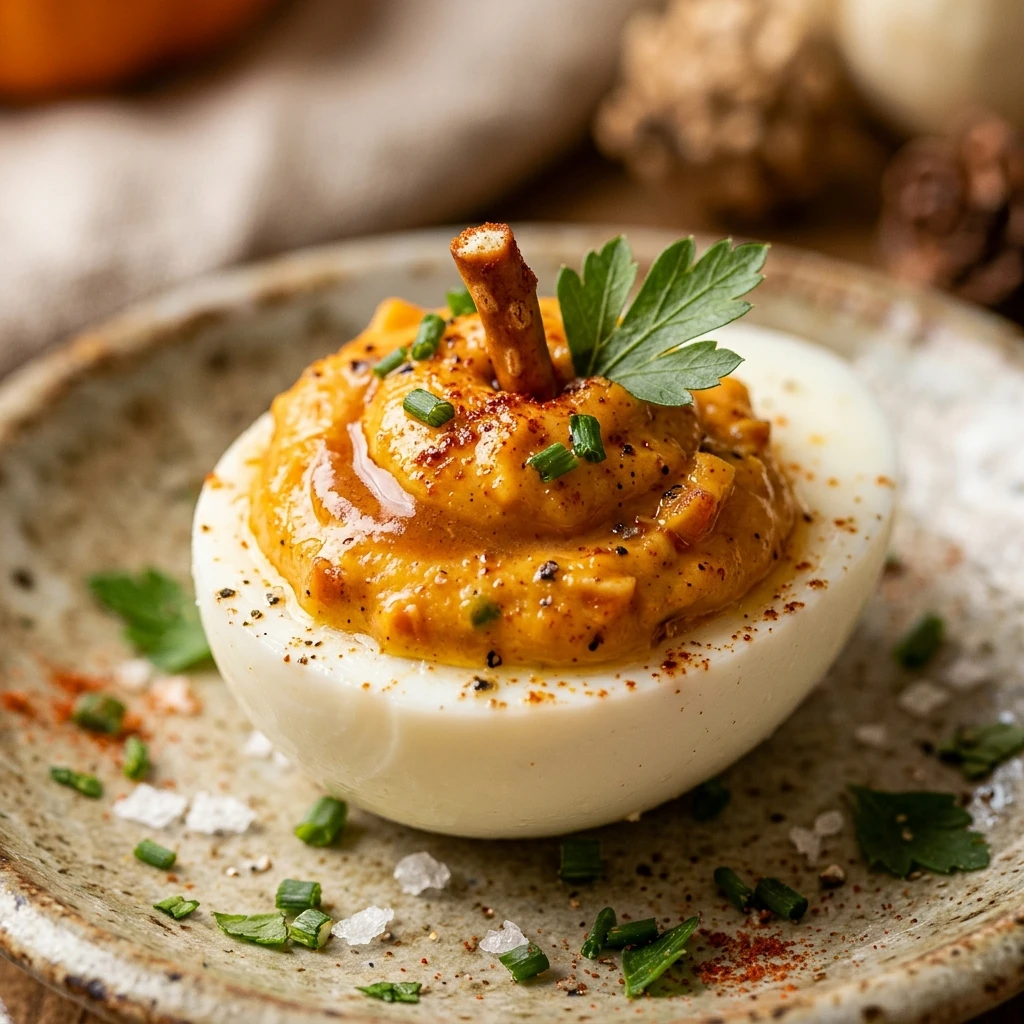
Every year when Thanksgiving rolls around, I look for creative ways to dress up our appetizer spread without adding too much extra work to my holiday schedule. I love how these pumpkin deviled eggs bring a festive, whimsical touch to the table while keeping the classic flavors everyone craves. It is a joy to see my guests’ faces light up when they spot these tiny pumpkins sitting among the more traditional starters.
Recipe Details
Recipe Information
- Prep Time: 20 minutes
- Cook Time: 12 minutes
- Total Time: 32 minutes
- Servings: 12 pieces
- Difficulty: Easy
Nutrition Information (Per Serving)
- Calories: 65 kcal
- Protein: 4g
- Carbs: 1g
- Fat: 5g
Why You’ll Love This Pumpkin Deviled Eggs
This recipe is a total crowd-pleaser because it takes a beloved staple and transforms it into a seasonal work of art. You will love how the smoked paprika adds both a beautiful orange hue and a deep, savory flavor that pairs perfectly with the creamy yolk. They are naturally gluten-free and protein-packed, making them a great option for guests with various dietary needs. Plus, the preparation is simple enough that you can involve the kids in decorating the pumpkin ridges.
Pumpkin Deviled Eggs Ingredients & Substitutions
- 6 large eggs
- 3 tablespoons mayonnaise
- 1 teaspoon yellow mustard
- 1/2 teaspoon smoked paprika, plus extra for dusting
- 1/4 teaspoon sea salt
- 1/4 teaspoon ground black pepper
- 1 bunch fresh chives, cut into 1/2 inch pieces for the stems
If you prefer a tangier filling, you can substitute the yellow mustard with Dijon mustard or a small amount of apple cider vinegar. For a lighter version, replace half of the mayonnaise with plain Greek yogurt, which maintains the creamy texture while adding a bit of extra protein. If you do not have chives on hand, tiny slivers of green bell pepper or small parsley stems make excellent alternatives for the pumpkin tops.
Step-by-Step Instructions to Make Pumpkin Deviled Eggs
Step 1: Hard Boil the Eggs
Place your eggs in a single layer in a saucepan and cover them with cold water by at least an inch. Bring the water to a full rolling boil over high heat, then immediately turn off the heat and cover the pan with a lid. Let the eggs sit in the hot water for 12 minutes. Prepare an ice bath in a medium bowl while you wait. Once the time is up, transfer the eggs to the ice water for at least 5 minutes to stop the cooking process and make them easier to peel.
Step 2: Prepare the Egg Whites
Gently tap the shells and peel the eggs under cool running water. Slice each egg in half lengthwise. Carefully remove the yolks and place them into a small mixing bowl, then set the white halves aside on a serving platter or a clean plate. If any yolk remains in the whites, you can gently wipe it away with a damp paper towel for a clean look.
Step 3: Create the Creamy Filling
Use a fork to mash the egg yolks until they are fine and crumbly. Add the mayonnaise, mustard, smoked paprika, salt, and pepper to the bowl. Stir everything together until the mixture is completely smooth and has a consistent orange color. Taste the filling and adjust the seasoning if you want a bit more salt or a smokier flavor.
Step 4: Fill and Shape the Pumpkins
Spoon the yolk mixture back into the centers of the egg whites, mounding it up slightly so it sits above the rim. Use the back of a small spoon to smooth the top of the filling into a rounded mound. Take a clean toothpick and gently press vertical lines into the yolk mixture to mimic the ridges of a pumpkin. Work your way around the entire mound for a realistic look.
Step 5: Garnish and Serve
Carefully insert a small piece of chive or a parsley stem into the top center of each yolk mound to act as the pumpkin stem. Lightly dust the tops with a tiny bit more smoked paprika if you want a deeper orange color. Serve immediately or keep them chilled until your guests arrive.
Tips for Success
To get the smoothest filling, try using a fine-mesh sieve to push the cooked yolks through before mixing in the wet ingredients. If you want the ridges to be very pronounced, make sure your filling is chilled for about 10 minutes before you start “carving” with the toothpick. Always use the oldest eggs in your refrigerator, as they are significantly easier to peel after boiling than very fresh eggs. When cutting the chives for stems, cut them at a slight angle to give the pumpkins a more natural, organic appearance.
Variations of Pumpkin Deviled Eggs
For those who enjoy a bit of heat, you can add a dash of cayenne pepper or a teaspoon of Sriracha to the yolk mixture to create “spicy pumpkins.” If you want a more textured filling, finely chopped turkey bacon can be folded in or sprinkled on top for a smoky, salty crunch. Another festive variation involves adding a tiny drop of orange food coloring if your yolks aren’t naturally bright enough, though the smoked paprika usually provides plenty of color on its own.
Serving Suggestions: What to Pair with Pumpkin Deviled Eggs
These festive eggs are the perfect addition to a large Thanksgiving charcuterie board featuring roasted nuts, sharp cheeses, and crackers. They also pair beautifully with a warm bowl of butternut squash soup or a crisp autumnal salad filled with apples and walnuts. If you are serving a full holiday dinner, these make a light and airy contrast to heavier dishes like mashed potatoes and stuffing. Place them on a bed of fresh kale or parsley to make the orange “pumpkins” pop against the green background.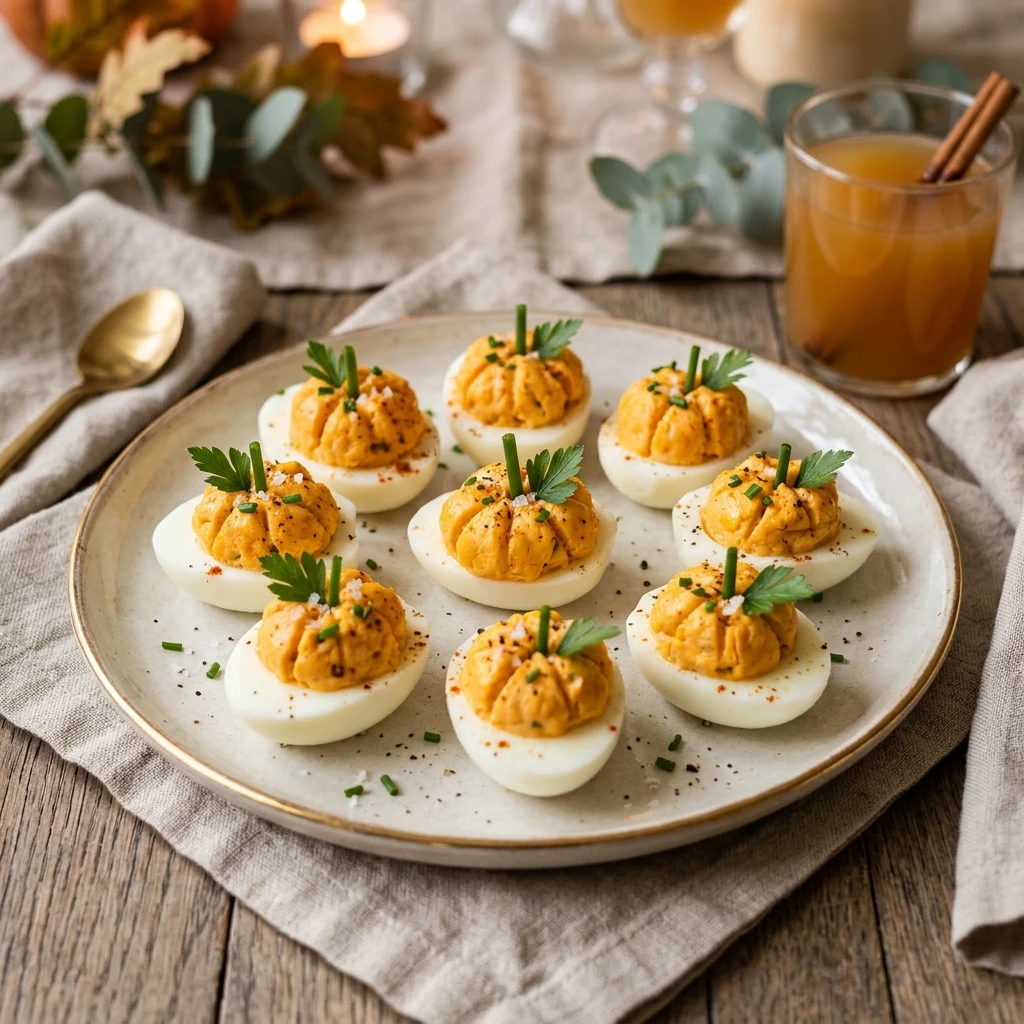
Storage & Reheating Instructions
Deviled eggs are best enjoyed the day they are made, but they can be stored in the refrigerator for up to two days. Keep them in an airtight container to prevent the whites from becoming rubbery or absorbing other fridge odors. It is recommended to add the chive stems and the toothpick ridges just before serving for the best visual presentation. Do not freeze deviled eggs, as the texture of the whites will become watery and unpleasant upon thawing.
Memories Made Around the Table
I remember the first time I brought these to our family Thanksgiving gathering. My grandmother, who has made traditional deviled eggs for fifty years, was so impressed by the little ridges and the chive stems. We spent the afternoon laughing about how such a small change could make the table feel so much more special. Now, it has become a tradition that my nieces and nephews help me “carve” the pumpkins every November, and it is those quiet moments in the kitchen that I cherish the most.
FAQs
Can I prepare the egg whites and filling in advance?
Yes, you can boil and peel the eggs, slice them, and store the whites and the yolk mixture separately. Keep the whites in a sealed container and the filling in a piping bag or a tightly covered bowl for up to 24 hours. Fill and decorate them shortly before your event to keep them looking fresh.
How do I create the pumpkin ridges on the filling?
The easiest way is to use a clean toothpick or the tip of a dull table knife. Gently press the tool into the yolk mixture starting from the top center and pulling down to the egg white. Repeat this four or five times around the mound to create the sections of the pumpkin.
What are the best options for the pumpkin stems?
Fresh chives are the most common choice because they are thin and easy to cut. However, you can also use small pieces of green onion tops, tiny slices of green bell pepper, or even the small stems from a bunch of fresh parsley or cilantro.
Why are my egg yolks gray around the edges?
A gray or green ring around the yolk usually means the eggs were boiled for too long or not cooled quickly enough. To avoid this, stick to the 12 minute timer and ensure you plunge the eggs into a very cold ice bath immediately after the cooking time is finished.
Is there a way to make the color more vibrant?
Smoked paprika provides a lovely natural orange, but for a deeper hue, you can add a tiny amount of turmeric or a drop of natural orange food dye. Some people also like to add a teaspoon of pumpkin puree, which adds color and a very subtle seasonal flavor.
Final Thoughts
Pumpkin deviled eggs are a simple yet stunning way to celebrate the flavors and themes of Thanksgiving. By using basic pantry staples and a little bit of creativity, you can turn a humble egg into the star of your appetizer platter. Whether you are hosting a large family feast or a small cozy dinner, these little pumpkins are sure to bring a smile to everyone’s face and a delicious start to your holiday meal.

Pumpkin Deviled Eggs Appetizers
- Total Time: 32 minutes
Ingredients
- 6 large eggs
- 3 tablespoons mayonnaise
- 1 teaspoon yellow mustard
- 1/2 teaspoon smoked paprika, plus extra for dusting
- 1/4 teaspoon sea salt
- 1/4 teaspoon ground black pepper
- 1 bunch fresh chives, cut into 1/2 inch pieces for the stems
Instructions
- Place your eggs in a single layer in a saucepan and cover them with cold water by at least an inch. Bring the water to a full rolling boil over high heat, then immediately turn off the heat and cover the pan with a lid. Let the eggs sit in the hot water for 12 minutes. Prepare an ice bath in a medium bowl while you wait. Once the time is up, transfer the eggs to the ice water for at least 5 minutes to stop the cooking process and make them easier to peel.
- Gently tap the shells and peel the eggs under cool running water. Slice each egg in half lengthwise. Carefully remove the yolks and place them into a small mixing bowl, then set the white halves aside on a serving platter or a clean plate. If any yolk remains in the whites, you can gently wipe it away with a damp paper towel for a clean look.
- Use a fork to mash the egg yolks until they are fine and crumbly. Add the mayonnaise, mustard, smoked paprika, salt, and pepper to the bowl. Stir everything together until the mixture is completely smooth and has a consistent orange color. Taste the filling and adjust the seasoning if you want a bit more salt or a smokier flavor.
- Spoon the yolk mixture back into the centers of the egg whites, mounding it up slightly so it sits above the rim. Use the back of a small spoon to smooth the top of the filling into a rounded mound. Take a clean toothpick and gently press vertical lines into the yolk mixture to mimic the ridges of a pumpkin. Work your way around the entire mound for a realistic look.
- Carefully insert a small piece of chive or a parsley stem into the top center of each yolk mound to act as the pumpkin stem. Lightly dust the tops with a tiny bit more smoked paprika if you want a deeper orange color. Serve immediately or keep them chilled until your guests arrive.
- Cook Time: 32 minutes
- Diet: Gluten-Free