
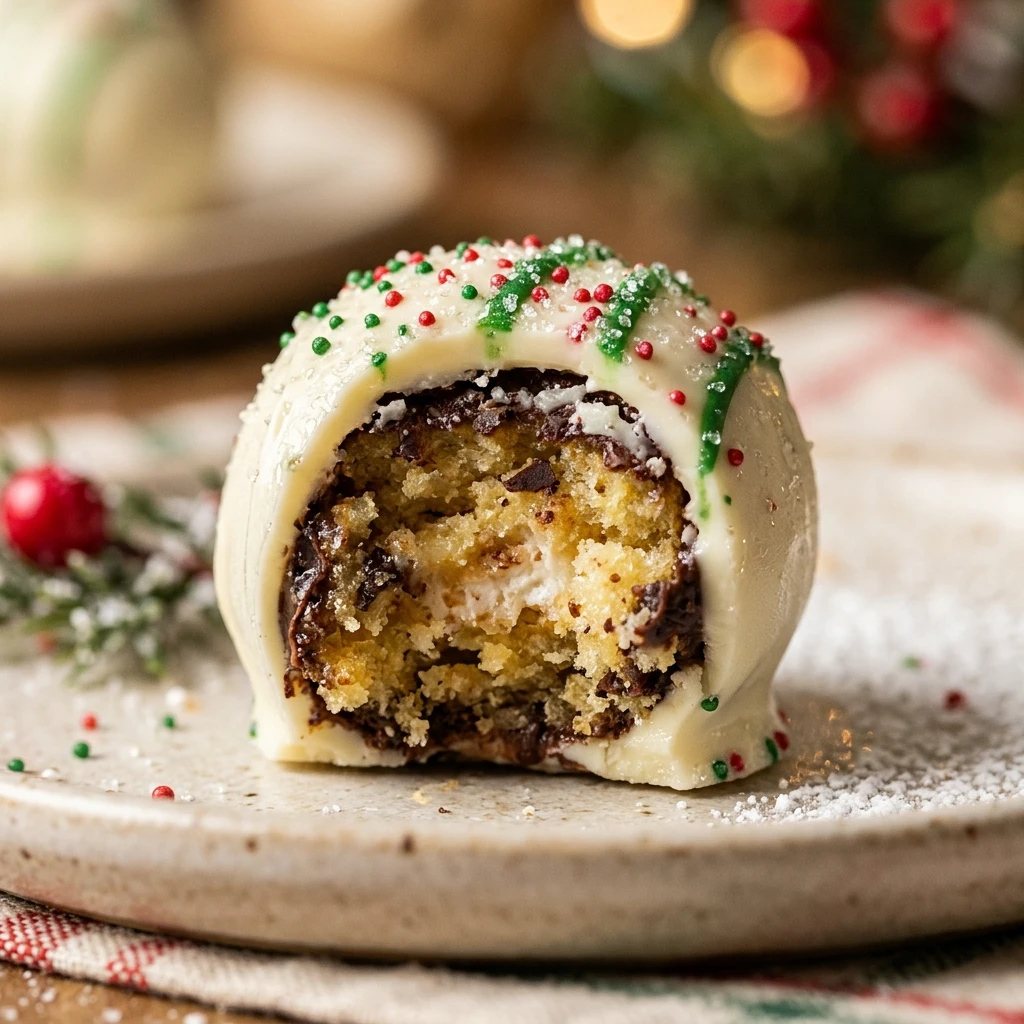
Christmas is my favorite time of year, and nothing says the holidays like those iconic snack cakes in the shape of trees. I wanted to turn that nostalgic treat into something even more special for my holiday parties, and these truffles are the perfect answer. They are sweet, festive, and incredibly easy to whip up when you need a last minute dessert that everyone will recognize and love.
Recipe Details
Recipe Information
- Prep Time: 45 minutes
- Cook Time: 0 minutes
- Total Time: 45 minutes
- Servings: 24 truffles
- Difficulty: Easy
Nutrition Information (Per Serving)
- Calories: 185 kcal
- Protein: 1g
- Carbs: 22g
- Fat: 10g
Why You’ll Love This Holiday Treat
This recipe captures the pure nostalgia of childhood Christmases in a single, bite sized dessert. You will love how the creamy filling contrasts with the snap of the chocolate coating, creating a texture that is far more sophisticated than the original snack cake. Since it requires no baking, it is the ultimate stress free addition to your holiday dessert platter. Plus, the festive colors and recognizable flavor make it an instant conversation starter at any gift exchange or family gathering.
This Holiday Treat Ingredients & Substitutions
- 10 Little Debbie Christmas Tree Cakes (Vanilla or Chocolate)
- 4 ounces cream cheese, softened to room temperature
- 12 ounces white chocolate melting wafers
- 1 teaspoon alcohol-free vanilla extract
- 1 tablespoon coconut oil, to help thin the coating
- Red and green sanding sugar or festive sprinkles for garnish
If you cannot find the specific snack cakes, any festive pre-packaged sponge cake or a simple homemade pound cake mixed with a bit of frosting will work perfectly as a base. For the coating, you can substitute the white chocolate with milk or dark chocolate wafers if you prefer a less sweet finish. If you do not have coconut oil, a small amount of vegetable shortening can be used to achieve that smooth, dippable consistency for the chocolate.
Step-by-Step Instructions to Make This Holiday Treat
Step 1: Prep the Snack Cakes
Open the snack cakes and place them into a large mixing bowl. Using a fork or your hands, break the cakes into very fine crumbs. Ensure there are no large chunks remaining so the truffle texture remains smooth and consistent throughout.
Step 2: Combine with Cream Cheese
Add the softened cream cheese and the alcohol-free vanilla extract to the cake crumbs. Use a hand mixer or a sturdy spatula to blend the ingredients until a thick, dough-like consistency forms. The moisture from the cream cheese and the snack cake frosting will bind everything together beautifully.
Step 3: Shape and Chill
Line a baking sheet with parchment paper. Scoop about one tablespoon of the mixture at a time and roll it between your palms to form a smooth ball. Place the balls on the prepared sheet and refrigerate for at least 30 minutes. Chilling is vital as it prevents the truffles from falling apart when they hit the warm melted chocolate.
Step 4: Melt the Chocolate
Place the white chocolate melting wafers and coconut oil in a microwave-safe bowl. Heat in 30 second intervals, stirring well after each session, until the chocolate is completely smooth and glossy. Be careful not to overheat, as white chocolate can scorch easily.
Step 5: Dip and Decorate
Using a fork or a dipping tool, submerge each chilled truffle into the melted chocolate. Tap the fork against the edge of the bowl to let the excess chocolate drip off. Place back on the parchment paper and immediately top with red and green sprinkles before the coating sets. Let them rest until the chocolate is firm.
Tips for Success
For the best results, make sure your cream cheese is truly at room temperature before mixing, otherwise you might end up with small lumps in your truffle center. If the mixture feels too soft to roll, pop the bowl in the fridge for ten minutes before shaping. When dipping, work in small batches and keep the remaining truffles in the refrigerator so they stay firm. A toothpick can also help you slide the truffles off the dipping fork without leaving a large mark on the bottom.
Variations of This Holiday Treat
You can easily customize these treats by using the chocolate version of the snack cakes for a richer, cocoa-heavy flavor profile. For a peppermint twist, add a tiny drop of peppermint extract to the cake mixture or top the truffles with crushed candy canes instead of sprinkles. If you want to get creative with the appearance, use a piping bag to drizzle extra red and green chocolate across the tops for a professional, striped look that mimics the original cake design.
Serving Suggestions: What to Pair with This Holiday Treat
These truffles are quite sweet, so they pair wonderfully with a hot cup of black coffee or a festive herbal tea. For a true holiday experience, serve them alongside a mug of hot cocoa topped with whipped cream. They also look beautiful when placed in small paper candy liners and arranged on a tiered dessert stand with gingerbread cookies and peppermint bark. If you are serving adults, a cold glass of sparkling apple cider provides a refreshing contrast to the creamy cake center.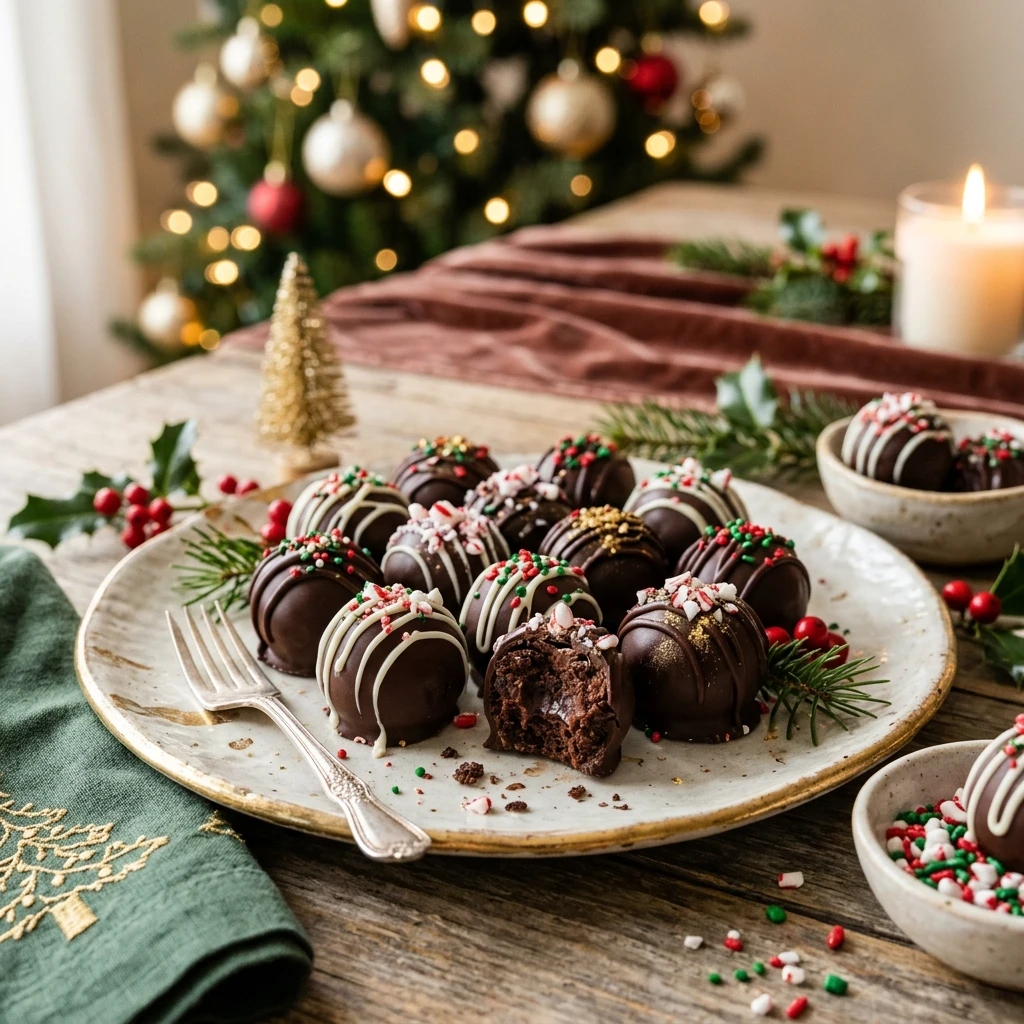
Storage & Reheating Instructions
Since these truffles contain cream cheese, they must be stored in the refrigerator. Place them in an airtight container with layers separated by parchment paper to prevent sticking. They will stay fresh for up to one week. If you wish to freeze them, they can last for up to two months. Simply thaw them in the refrigerator overnight before serving. These do not require reheating and are best enjoyed chilled or at room temperature.
Memories Made Around the Table
I remember my grandmother always keeping a box of these tree-shaped cakes on her counter during the month of December. We would sit at her kitchen table, peeling back the plastic wrappers and marveling at the little red stripes and green sugar crystals. Turning those memories into these truffles has become a new tradition in my own home. My kids now help me roll the cake dough into balls, and the house fills with the sweet scent of vanilla and chocolate, making the kitchen feel like a true holiday workshop.
FAQs
Do I need to remove the frosting from the snack cakes?
No, you should leave the frosting on the cakes. The frosting provides extra sweetness and acts as a binder along with the cream cheese, which helps create that perfect doughy texture inside the truffle.
Can I make these truffles in advance?
Yes, these are excellent for making ahead of time. You can prepare them up to three days before your event and keep them in the refrigerator. This actually allows the flavors to meld together even more.
Why is my chocolate coating cracking?
Cracking usually happens if there is an extreme temperature difference between the very cold truffle and the very hot chocolate. Let the truffles sit out for a few minutes after taking them from the fridge, and ensure your chocolate is warm but not boiling hot.
Can I use white chocolate chips instead of melting wafers?
While you can use chips, melting wafers are specifically designed for dipping and result in a much smoother, thinner coating. If you use chips, you may need to add a bit more coconut oil to get the right consistency for dipping.
How do I get the red stripes like the original cakes?
To mimic the original look, melt a small amount of red candy melts or white chocolate dyed with red food coloring. Place it in a small plastic bag, snip the corner, and drizzle thin diagonal lines across the finished truffles before adding your green sprinkles.
Final Thoughts
These Little Debbie Christmas Tree Cake Truffles are a delightful way to bring a bit of kitschy holiday cheer to your table. They are fast, fun, and require no oven time, leaving you more room to focus on your main holiday meal. Whether you are gifting them in a pretty tin or serving them at a party, they are guaranteed to bring a smile to everyone’s face. Happy holidays and happy snacking!

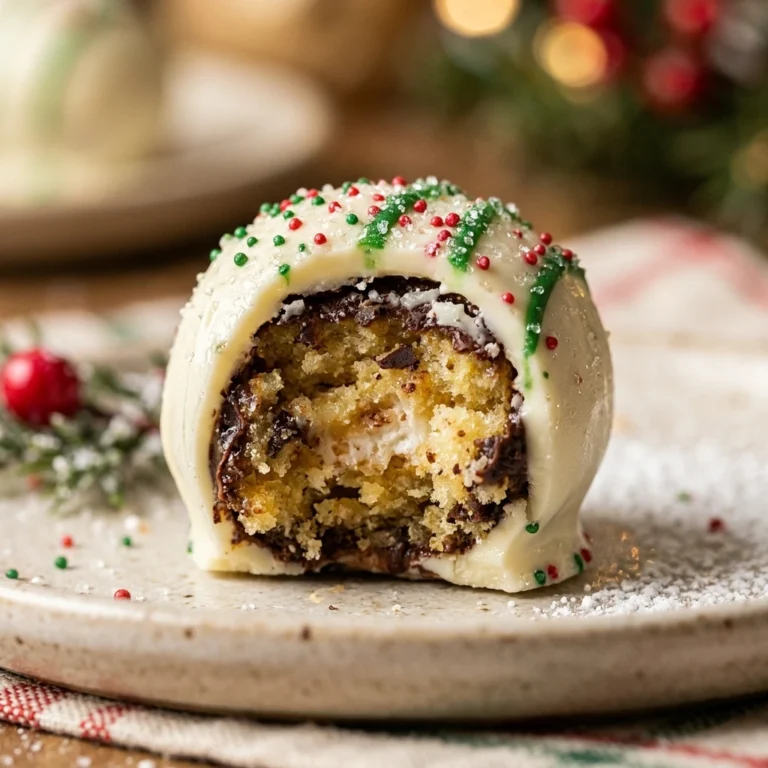
Little Debbie Christmas Tree Cake Truffles
- Total Time: 45 minutes
Ingredients
- 10 Little Debbie Christmas Tree Cakes (Vanilla or Chocolate)
- 4 ounces cream cheese, softened to room temperature
- 12 ounces white chocolate melting wafers
- 1 teaspoon alcohol-free vanilla extract
- 1 tablespoon coconut oil, to help thin the coating
- Red and green sanding sugar or festive sprinkles for garnish
Instructions
- Step 1: Prep the Snack Cakes – Open the snack cakes and place them into a large mixing bowl. Using a fork or your hands, break the cakes into very fine crumbs. Ensure there are no large chunks remaining so the truffle texture remains smooth and consistent throughout.
- Step 2: Combine with Cream Cheese – Add the softened cream cheese and the alcohol-free vanilla extract to the cake crumbs. Use a hand mixer or a sturdy spatula to blend the ingredients until a thick, dough-like consistency forms. The moisture from the cream cheese and the snack cake frosting will bind everything together beautifully.
- Step 3: Shape and Chill – Line a baking sheet with parchment paper. Scoop about one tablespoon of the mixture at a time and roll it between your palms to form a smooth ball. Place the balls on the prepared sheet and refrigerate for at least 30 minutes. Chilling is vital as it prevents the truffles from falling apart when they hit the warm melted chocolate.
- Step 4: Melt the Chocolate – Place the white chocolate melting wafers and coconut oil in a microwave-safe bowl. Heat in 30 second intervals, stirring well after each session, until the chocolate is completely smooth and glossy. Be careful not to overheat, as white chocolate can scorch easily.
- Step 5: Dip and Decorate – Using a fork or a dipping tool, submerge each chilled truffle into the melted chocolate. Tap the fork against the edge of the bowl to let the excess chocolate drip off. Place back on the parchment paper and immediately top with red and green sprinkles before the coating sets. Let them rest until the chocolate is firm.
- Cook Time: 45 minutes
- Diet: Vegetarian